Running Linux🔗
Running your own Linux is a good way to familirize yourself with a command shell and the cluster environment.
Windows Subsystem for Linux🔗
If you are running Windows then WSL2 is a good option for a quick and easy way to get started using Linux. It will allow you to do most things without switching to Linux completely.
VirtualBox (available on Windows, macOS and Linux)🔗
In the following steps of this guide we assume you are not running Linux as your primary operating system. We will install the popular and cross-platform virtualization tool VirtualBox and create a Linux virtual machine.
VirtualBox is a popular and capable GPLv2 licensed open source virtualization tool developed by Oracle. VirtualBox allows a physical Windows or macOS machine (in virtualization terminology labeld as the "host") to run virtual machines (called "guests") as if they were separate physical machines with their own operating system.
The installation below was performed on a host running Windows 10. The instructions for creating a virtual machine would look almost identical on a macOS host, excluding the preliminary setup step of approving third-party installations.
What about CDA-Windows? If you are running CDA Windows (Chalmers Datorarbetsplats) you cannot use VirtualBox, you must use hyperv. Please contact Chalmers ITA if you are unsure.
1) Download the latest version of VirtualBox.
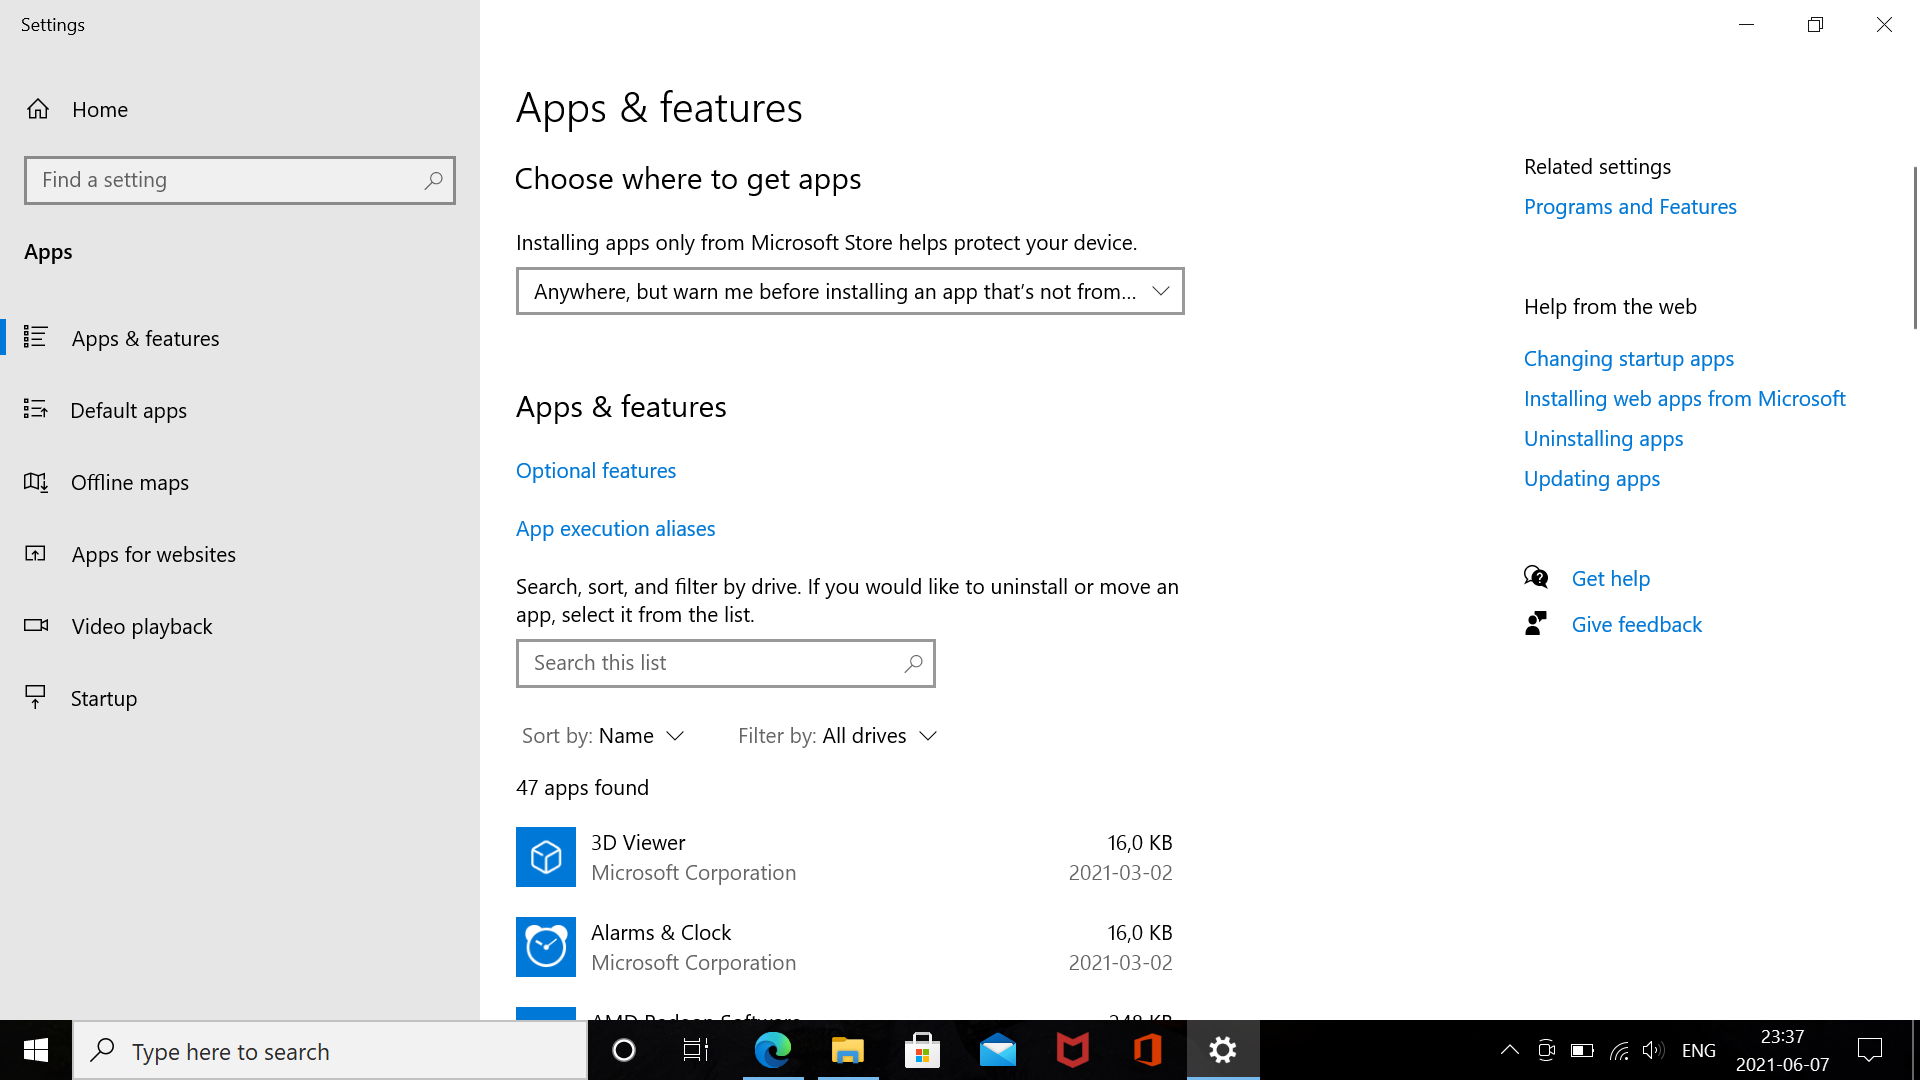
2) Launch the installer. Note that on both Windows and macOS you will need to approve installation of software that is not verified by Microsoft or the Apple App Store. On Windows, go to Apps & features settings and update the policy Choose where to get apps. We use Anywhere, but warn me before installing an app that's not from the Microsoft Store and restart the installer. On macOS you interact with the Gatekeeper dialog that automatically opens.
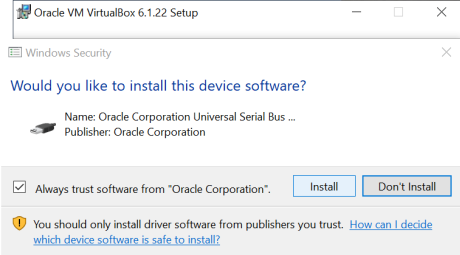
3) You should now be given the option to install VirtualBox. Note that you might lose network connectivity briefly during the installation. You will be prompted by Windows Security asking if you want to install device software (such as USB-drivers, see below). We recommend you install all default drivers by Oracle Corporation.
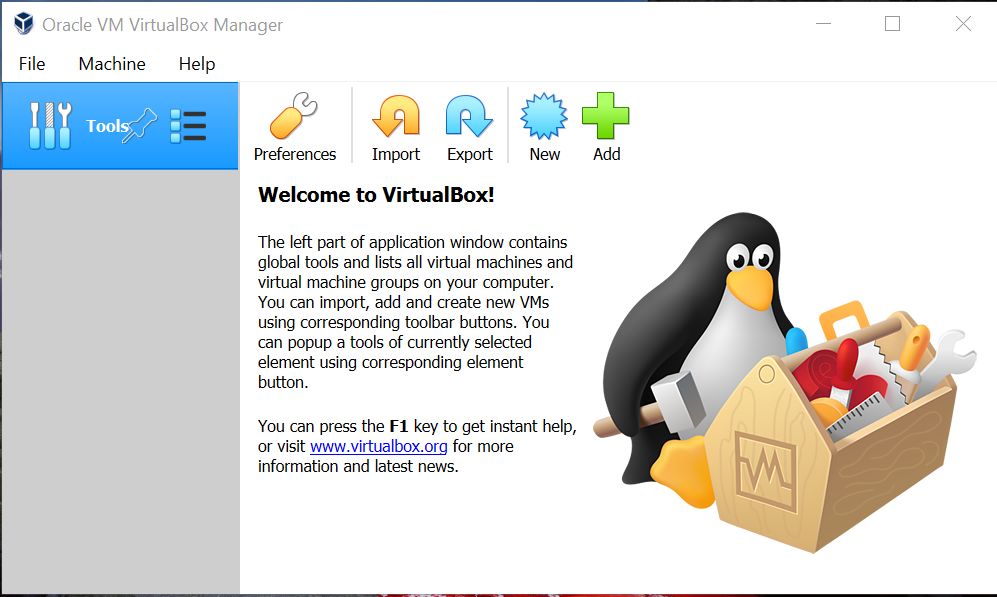
4) Once the installation completes you can start VirtualBox.
You are now ready to create your virtual machine.
Creating a virtual machine🔗
Creating a virtual machine in VirtualBox can be done in a few clicks. We will create a Linux virtual machine running CentOS7. We pick CentOS7 as this is a common distribution in HPC. We start by downloading the installation media (an iso file).
1) Visit https://mirror.nsc.liu.se/CentOS and download the latest CentOS7 minimal ISO. In time of writing this is CentOS 7.9.2009.
2) In VirtualBox click the New button (or type Ctrl+N). Pick a name and operating system. We use Name: CentOS7, Type: Linux and Version: Red Hat (64-bit) (CentOS is based on Red Hat Enterprise Linux).
Click next and set resource limits to your virtual machine. If the purpose of this machine is to build containers we recommend you give it a minimum of 4096MB of memory and a virtual hard disk (VDI file type) of at least 20GB. The limits can be changed afterwards, but requires that you power off the virtual machine. For the rest of the installer options you can pick the defaults.
3) Once you have created the virtual machine it is time to boot and install CentOS7. We will provide the iso as if it was provided as a optical installation media. Right click on the CentOS7 machine and select Settings (or highlight it with a left mouse click and press Ctrl-s).
4) Click on Storage and select the empty optical drive symbol under Controller: IDE in the Storage Devices section.
5) In the right menu under Attributes, left click on the disk symbol and pick Choose a disk file...
6) Select the CentOS7-x86_64-Minimal-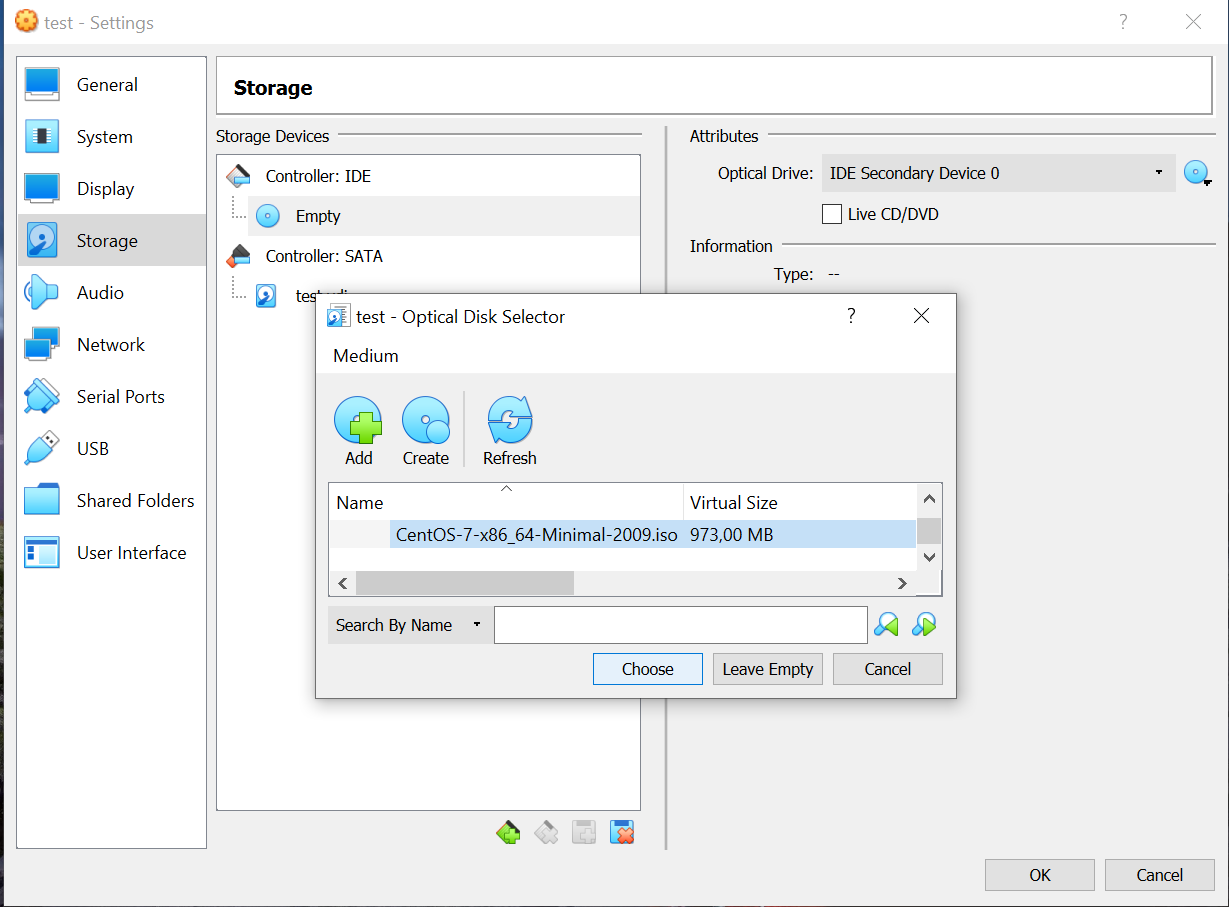
7) Select the machine and click on Start. If everything goes well the virtual
machine will boot and the CentOS7 installer should start. Click inside the window
and you can use the arrow keys and keyboard to navigate the installer.
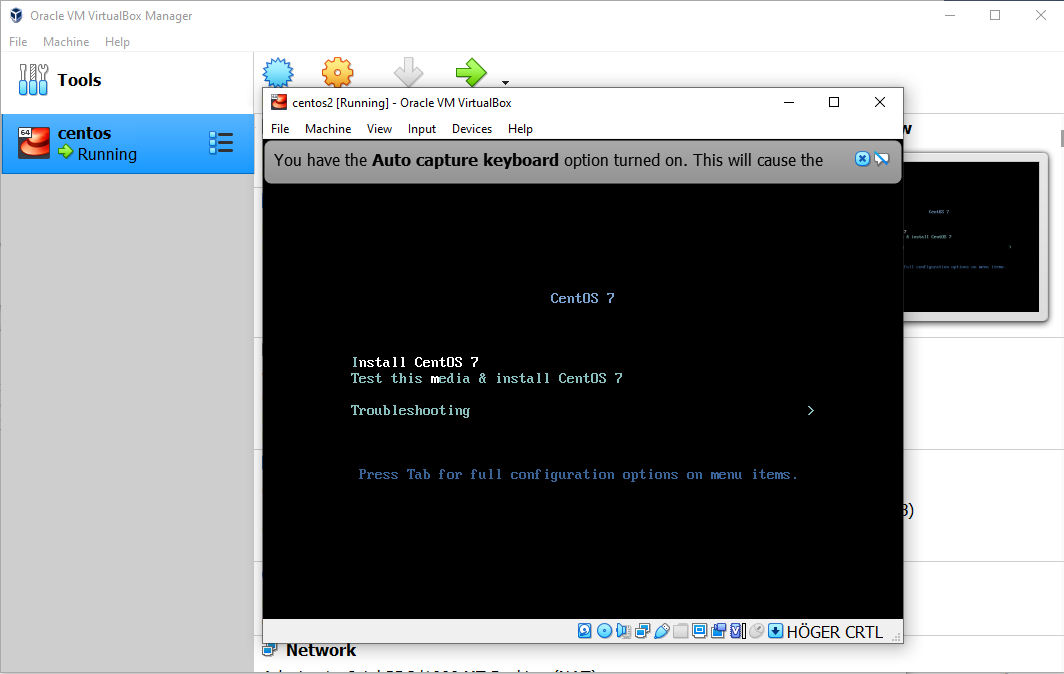
Once you place the mouse pointer inside the guest window your mouse will get locked to the VM. You can release the lock by pressing the right most Ctrl on your keyboard.
8) Complete the installation. You must at a minimum set the disk partition layout (using the entire disk is fine) and set a root password. You may also create a normal user, but it is not required.
9) Once the installation completes and the virtual machine reboot you can now login as root using the password you entered during the installer.
First log in, network and keymaps configuration🔗
Log into the virtual machine as the user root with the password you entered during the installation.
The commands below are assumed to be run as root inside the virtual machine.
If you ended up with an non-swedish keyboard layout you can change the keymap by typing
$ loadkeys se
localectl list-keymaps.
You likely need internet access for your VM. The default network driver in VirtualBox (NAT) should allow you to reach the Internet by default. You can check if you can reach the Internet by trying to ping a public server.
$ ping 1.1.1.1
nmcli.
$ nmcli con show
NAME    UUID                            TYPE      DEVICE
enp0s3  c2dj39behgd4j-ffc00-4jff3-9662  ethernet  --
$ nmcli con up id enp0s3
$ nmcli connection modify enp0s3 connection.autoconnect true
If you are still not able to reach Internet from within your virtual machine: * Make sure you are actually connected to the Internet from your host (i.e. laptop or PC). * Consult the VirtualBox network documentation.
Optional: VirtualBox Guest Additions🔗
If you find VirtualBox useful you might want to install the VirtualBox Guest Additions. The VirtualBox Guest Additions is a software package provided by VirtualBox that can greatly increase your productively working with virtual machines. The additions include improved mouse and keyboard support, file sharing between hosts and guests, and many other things. We will install the VirtualBox Guest Additions into our virtual machine and create a shared directory between the host and guest. The VirtualBox Guest Additions includes a kernel module which is built using develoment tools and kernel headers.
The first step is to load the VirtualBox Guest Additions as a virtual cdrom inside your virtual machine. The VirtualBox GUI for selecting virtual media might look different depending on the Windows or macOS version. On macOS you might need to navigate using Finder and select "media". On Windows, click on the Devices > Optical Drives > Choose/Create a disk image and you should be given the option to select VBoxGuestAdditions.iso. Once this is done we will install the guest additions inside our virtual machine.
The commands below are assumed to be run as root inside the virtual machine.
$ yum groupinstall -y "Development tools"
$ yum install -y "kernel-devel-uname-r == $(uname -r)"
$ mkdir -p /mnt/cdrom
$ mount /dev/cdrom /mnt/cdrom
$ sh /mnt/cdrom/VBoxLinuxAdditions.run --nox11
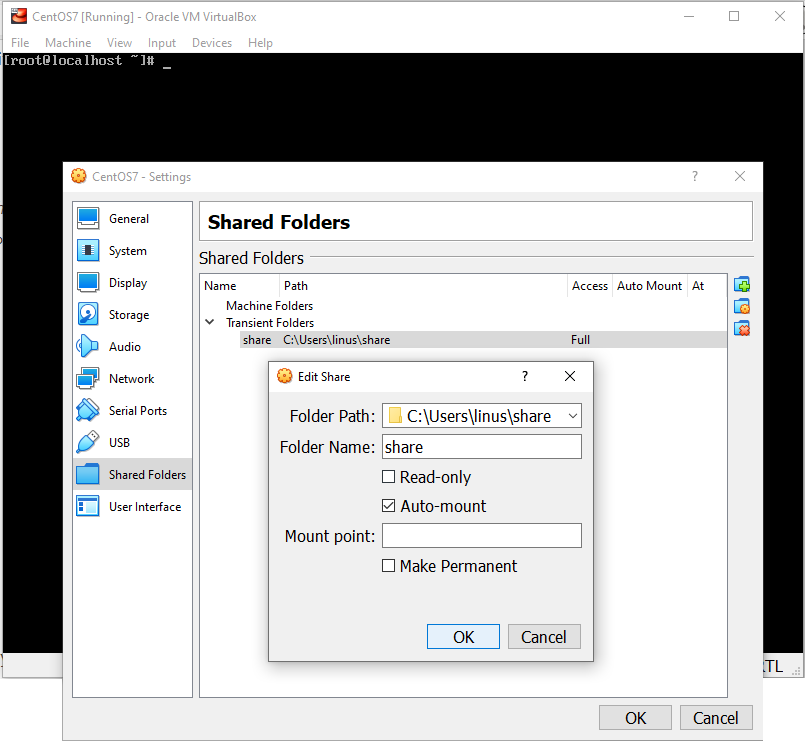
Assuming no errors, you can now load a shared directory from you Windows host.
$ mkdir -p /mnt/share
$ mount -t vboxsf share /mnt/share
$ ls -l /mnt/share